It’s been a while since I updated the blog. It’s time to pour more grade beams. Getting the beams done represents a faint light at the end of the tunnel for me. Being out of the hole in the ground will be a big deal!
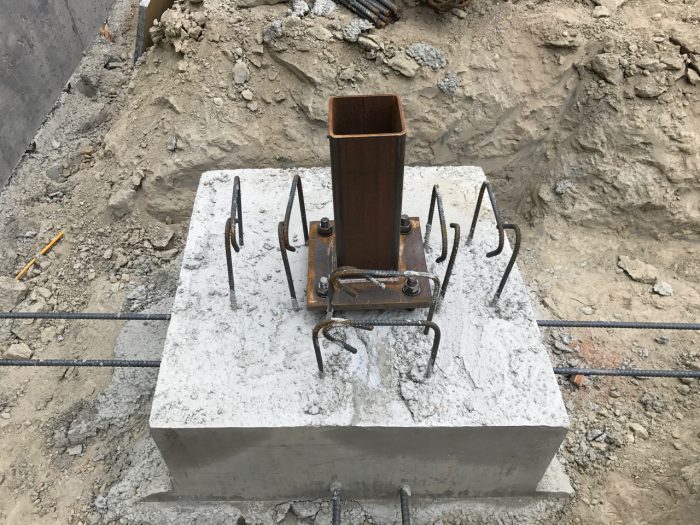
The first order is to get the steel post bases attached to the two footings and get them leveled. The bases were custom manufactured by a local steel fabricator that has been contracted to do all the steel for our project. They will protrude a 1/4″ above the slab in the basement and eventually a steel column will be inserted in them and welded to it. High strength grout will be placed underneath before pouring concrete around them. It seemed like a pretty complex process to get them dimensioned, ordered and installed but all in all it wasn’t too bad.
You can also see the stirrups and bar protruding from the footing which will allow the grade beam to connect to the footing and encase the steel base.
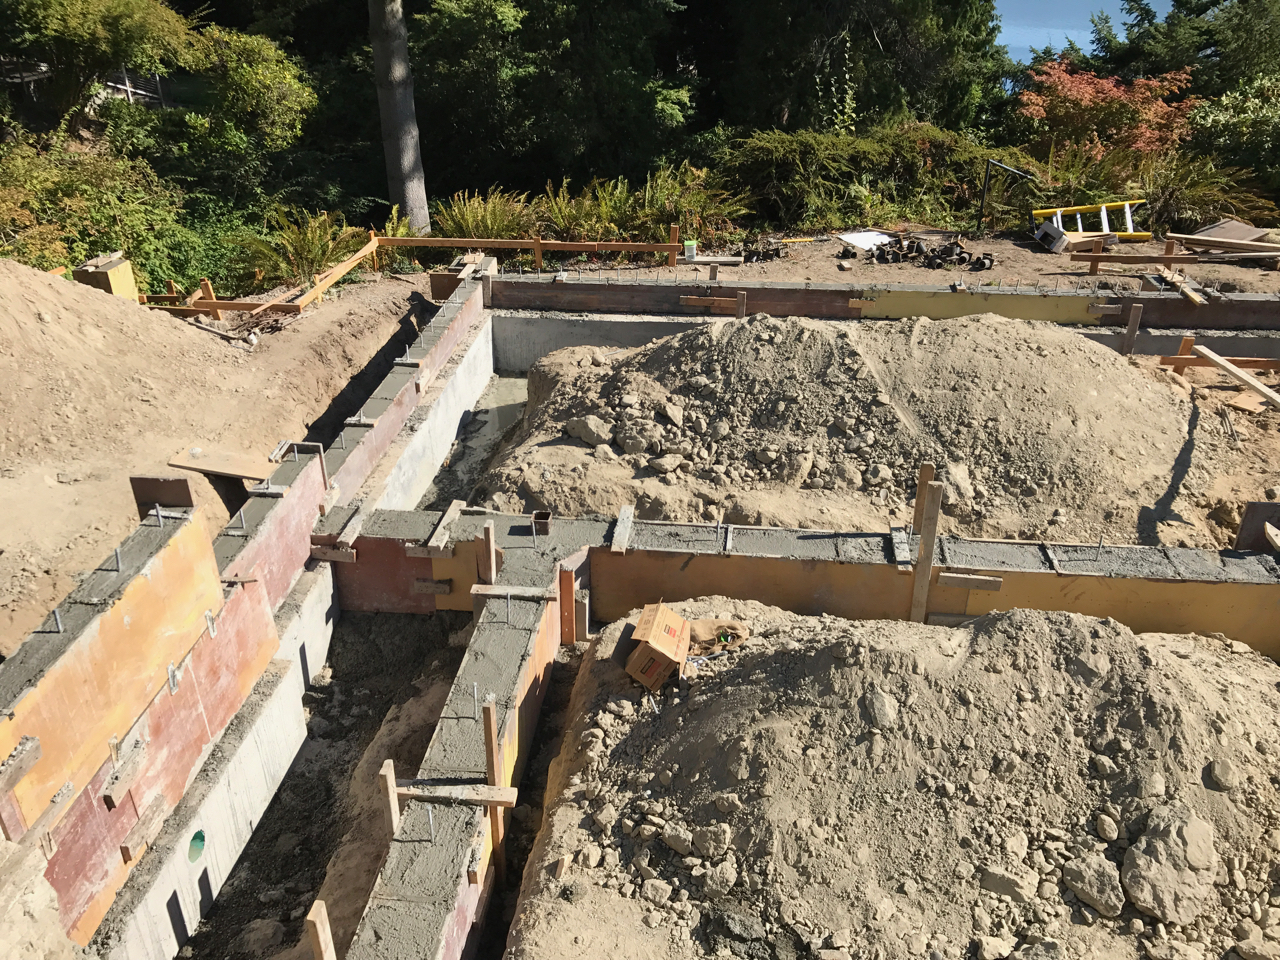
We started working on installing the forms a few days later. There was a maze of strings to lift the heavy panels over but luckily the rains stayed away. Like the main grade beam there was a lot of rebar to tie everything together.

Eventually we poured the grade beam and the stem wall on top of the first grade beam. Now all we need to do is strip the forms and get the excavator to backfill / dig for the next set of footings.
As usual the excavator made super quick work of things. There was a lot of dirt stored in the front yard, so he use the front loader to move it down into the hole and the trackhoe to finesse and compact. The laser was, once again, setup to get proper grade. I walked behind Randall making sure the soil was at the proper level, pointing at areas that needed to go up or down (laser is the yellow box on the concrete wall below).
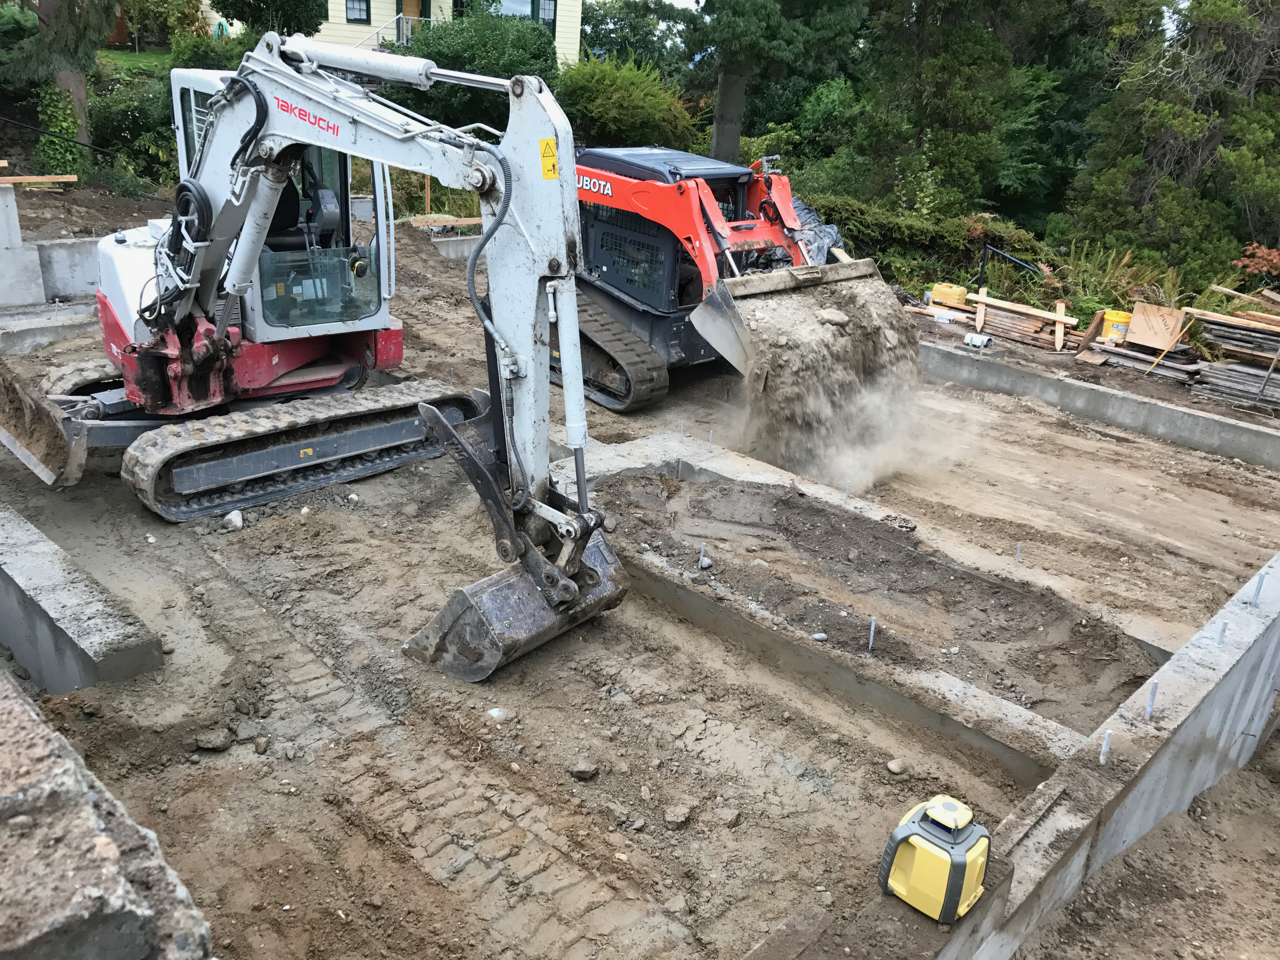
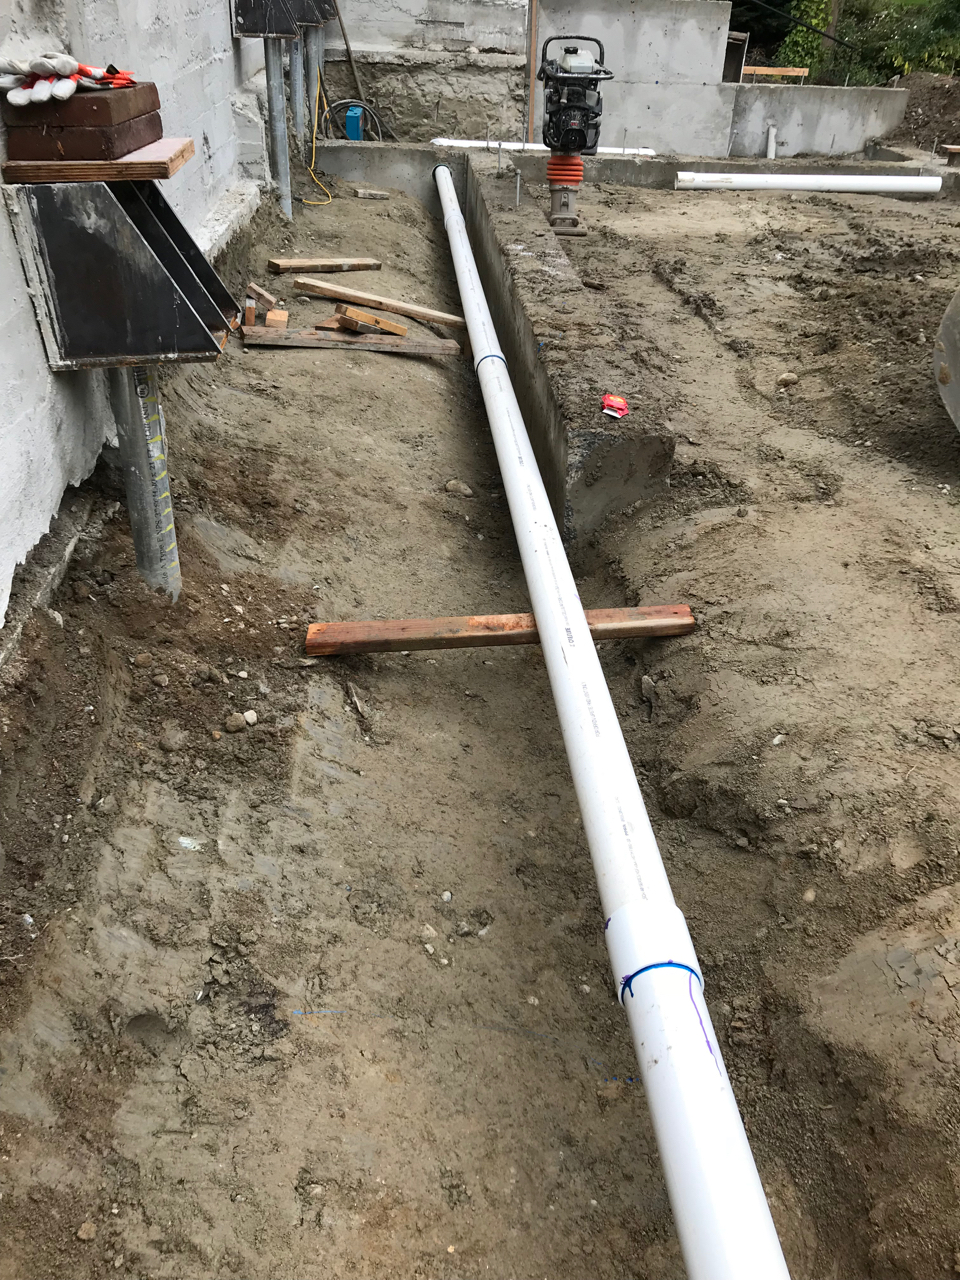
The next step is to get an interior footing drain installed. Ideally a footing drain would be placed on the outside of the foundations but in this case it would require digging a 7+ foot deep trench in front of the old foundation and I wasn’t keen on disturbing the soil because of the age of the foundation. It would also have required digging a 8′ wide trench and there was no place to put the dirt. So, the interior drain was the answer. During concrete forming I placed some plastic sleeves in the grade beams so the 4″ footing drain pipe would be allowed to pass through. The drain and hole below was later filled with clean rock which allows the water to make its way through the holes in the pipe and drain out the side of the house (to be continued). We also used a “Jumping Jack” (the machine in the picture below) to go over the soil many times to compact it and prevent setting later.
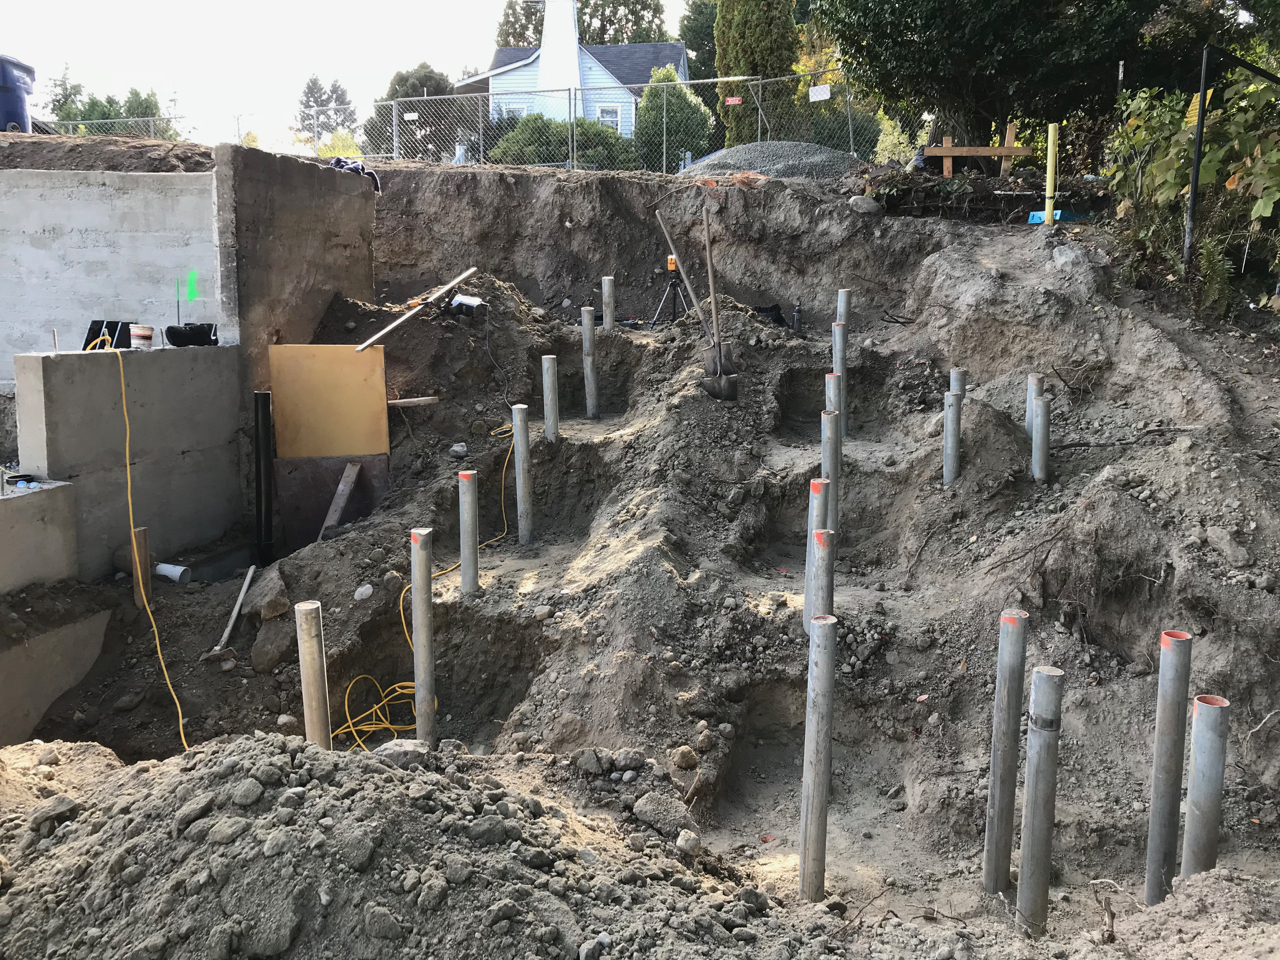
After backfilling the main foundation area, Randall backed his machines out and started digging the footings for the garage. A whole bunch of pin piles were installed for the garage and as usual Randall had to carefully dig around them for the footings. This operation was on a slope and in a pretty tight area so he had to be careful to dig just enough soil but not too much. Once he backed out of the excavation area he would no longer be able to bring his trackhoe down into the yard. This was his grand finale! He also left me again with a minefield of pin piles to cut off and install pipe caps. Nothing like spending 8 hours on your knees in the dirt cutting 3″ steel pipes off with a band saw.
One thought on “Beams of Light”