
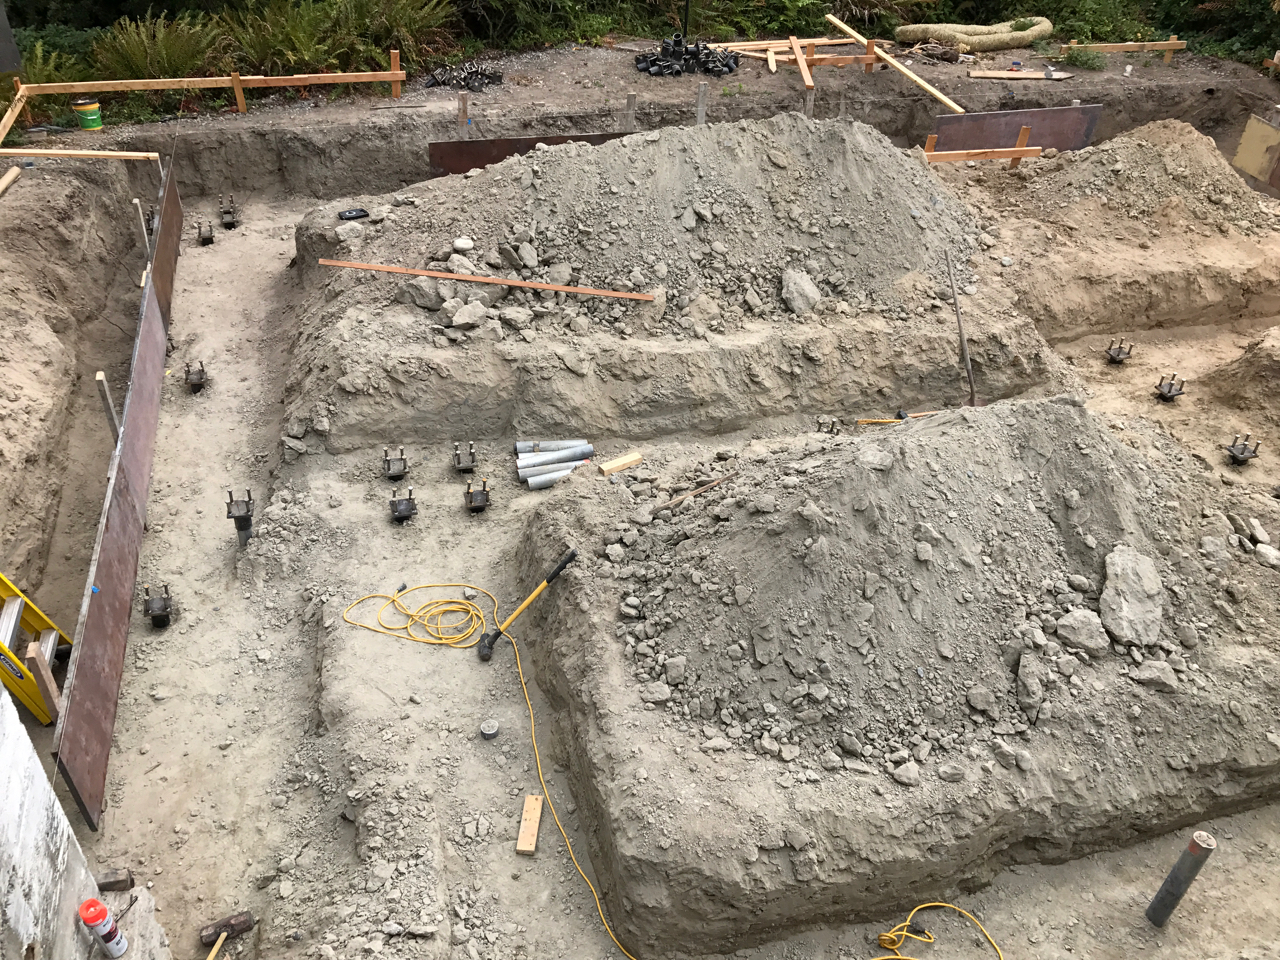
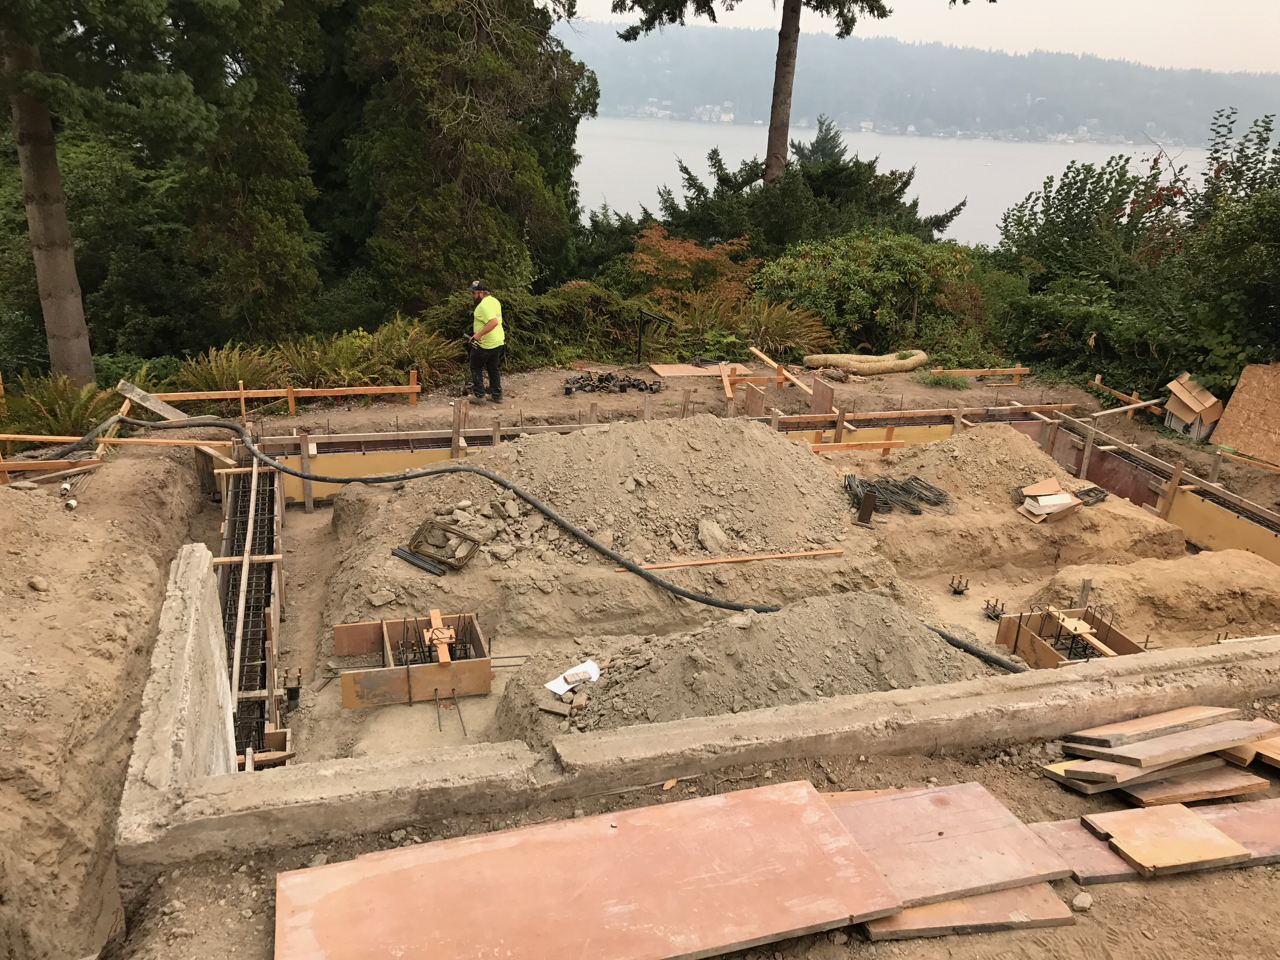
We have many stages of concrete ahead of us but I’m super happy to get started forming up. The main grade beam and a couple of square interior footings are the first to be poured. In the early stages of building it usually comes back to setting up the laser and double/triple checking the layout. Once that’s done all the strings were set back up to give us an outline for the form boards that contain the poured concrete.
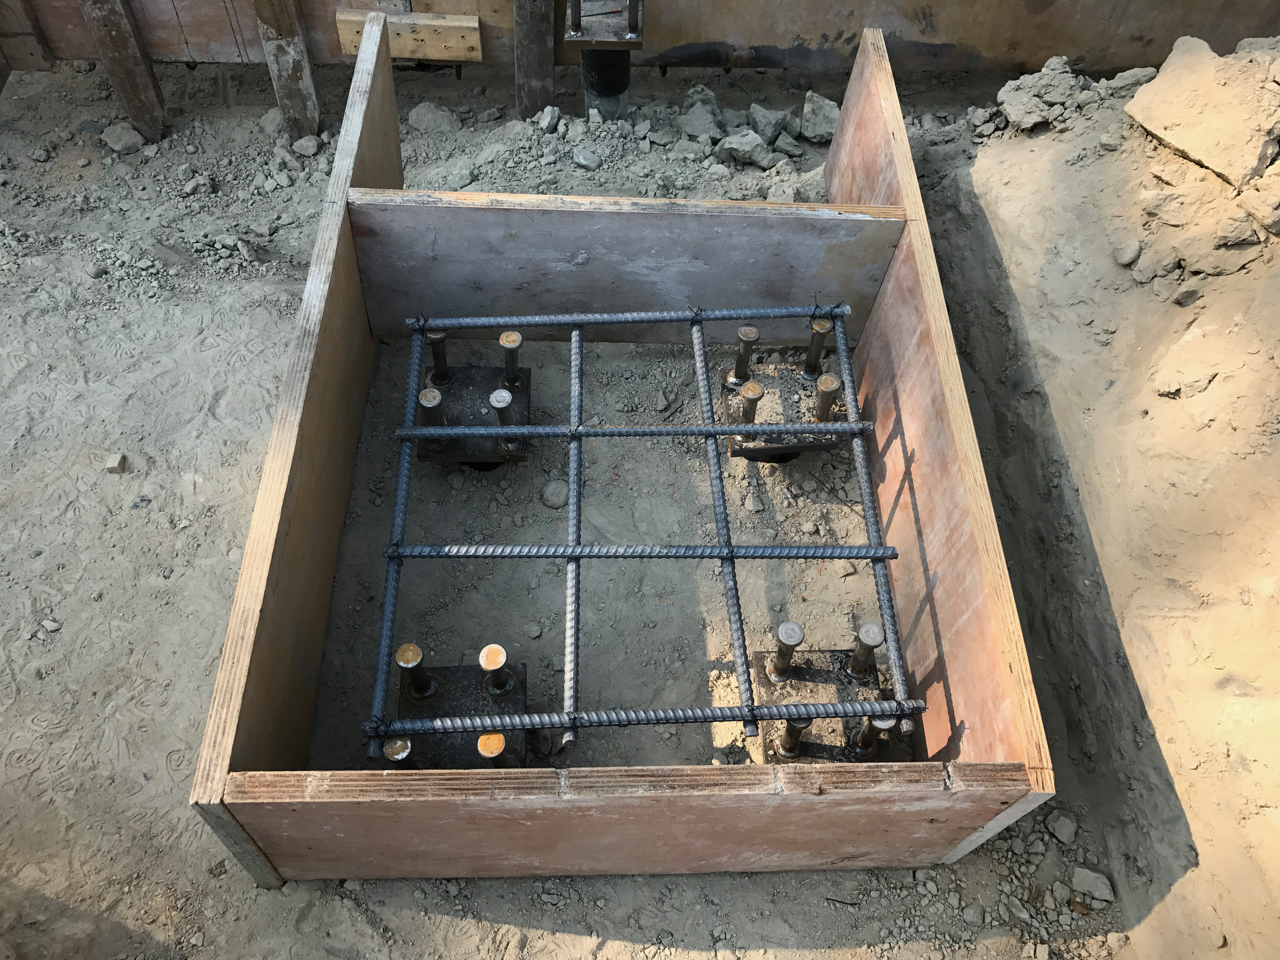
The image below shows the outside forms being erected for the main perimeter grade beam. It’s going to be 2′-9″ tall by 1′-6″ wide (not a small one) and it sits on top of the pin piles that line up under it. This shot also shows the four clustered pin piles that will be encased by a 2′-6″ x 2′-6″ x 1′-3″ footing (more on this in a bit).
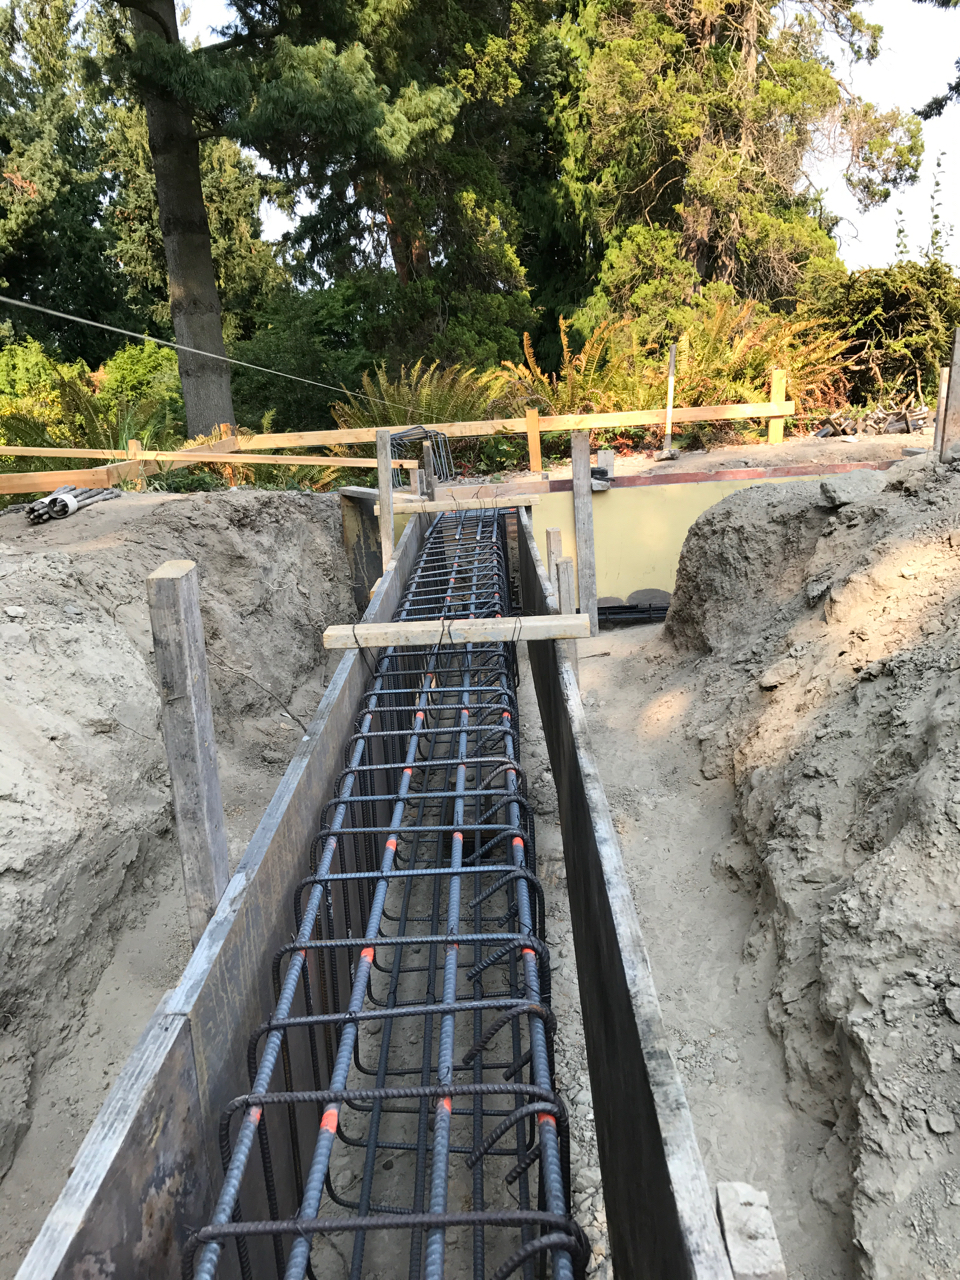
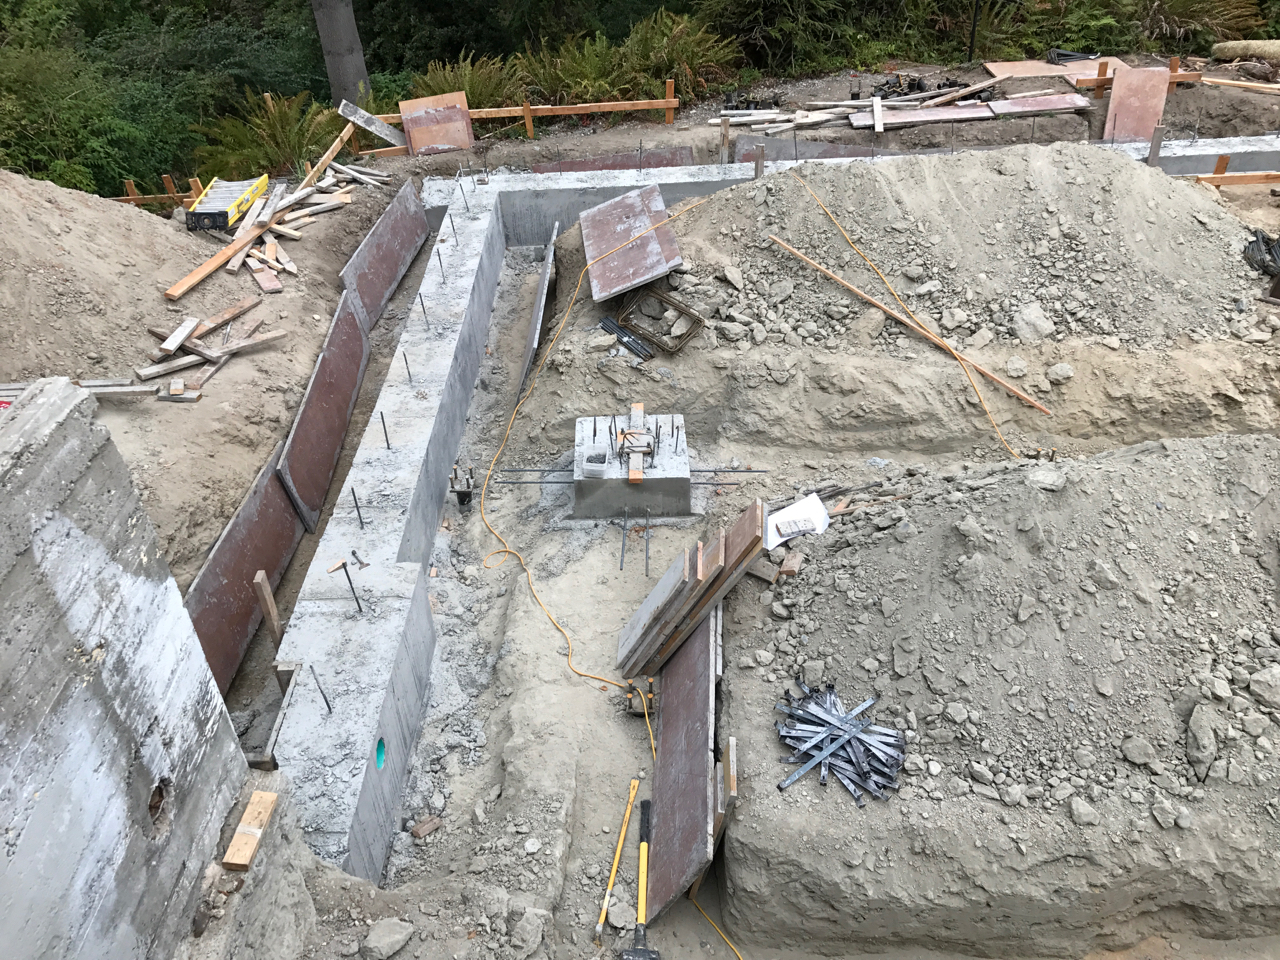
Most of this is pretty simple but the forms are super heavy 1 1/8″ thick plywood so it’s kind of back breaking work hoofing the panels around. The soil is also very hard so the 2×4 stakes don’t always go into the ground. One by one we got the panels in and it was time to start with the rebar. The rebar schedule is pretty heavy duty for the grade beams on the project. It’s really starting to resemble a parking garage so I guess it will be sturdy!
The rebar consists of 4 #5 (5/8″) bars on the top and 4 more on the bottom with #3 (3/8″) stirrups every 6″, keeping it together. All of it has to be tied together with wire, which I learned acts like a vampire to quickly and efficiently draw blood from all parts of your hands and arms. I even had a couple of shirt casualties when they got hooked on a wire.
Eventually we got all the runs of bar in and tied the corners together with more #5 bars bent in the shape of an L. All in all there was at least a couple of thousand pounds of steel in these beams.
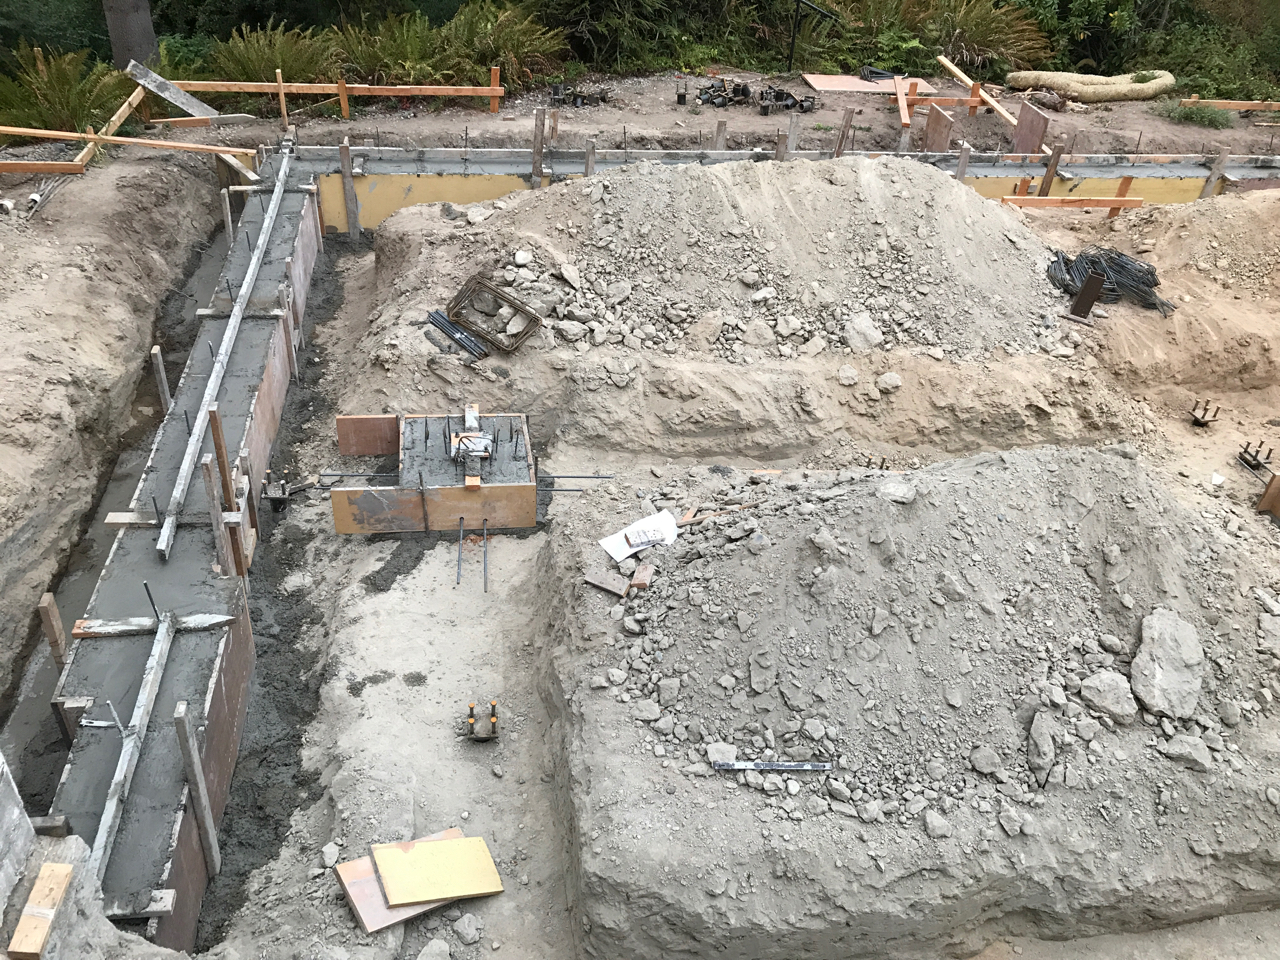
The two footings mentioned earlier had to be poured at the same time as this grade beam because they hold steel column bases that get poured into another set of grade beams that criss cross the basement floor. It was no big deal to pour them at the same time but it was tricky getting them positioned in the right spot so the steel bases could be attached in the correct location. I’ll review this more in the next post.
Eventually we go all of the forms and bar done and it was time to pour concrete! The line pump truck showed up first to setup the hose and get the hopper primed. We pulled a section of the heavy rubber hose down the hill to the lowest spot and connected more sections until it stretched from the pump to the form. The concrete truck showed up shortly after and we were ready to go. Wait, not so fast! An inspector from the private company that I hired showed up and informed me that we couldn’t pour because the pile caps hadn’t been inspected and he wasn’t qualified to do so. There was high drama going back and forth with my engineer and the inspections company. It got even more uncomfortable when the second concrete truck showed up and there was $2500 worth of concrete spinning in front of the house! After about an hour of delay everyone agreed that we had enough information about the pile caps and the pour could proceed (phew).
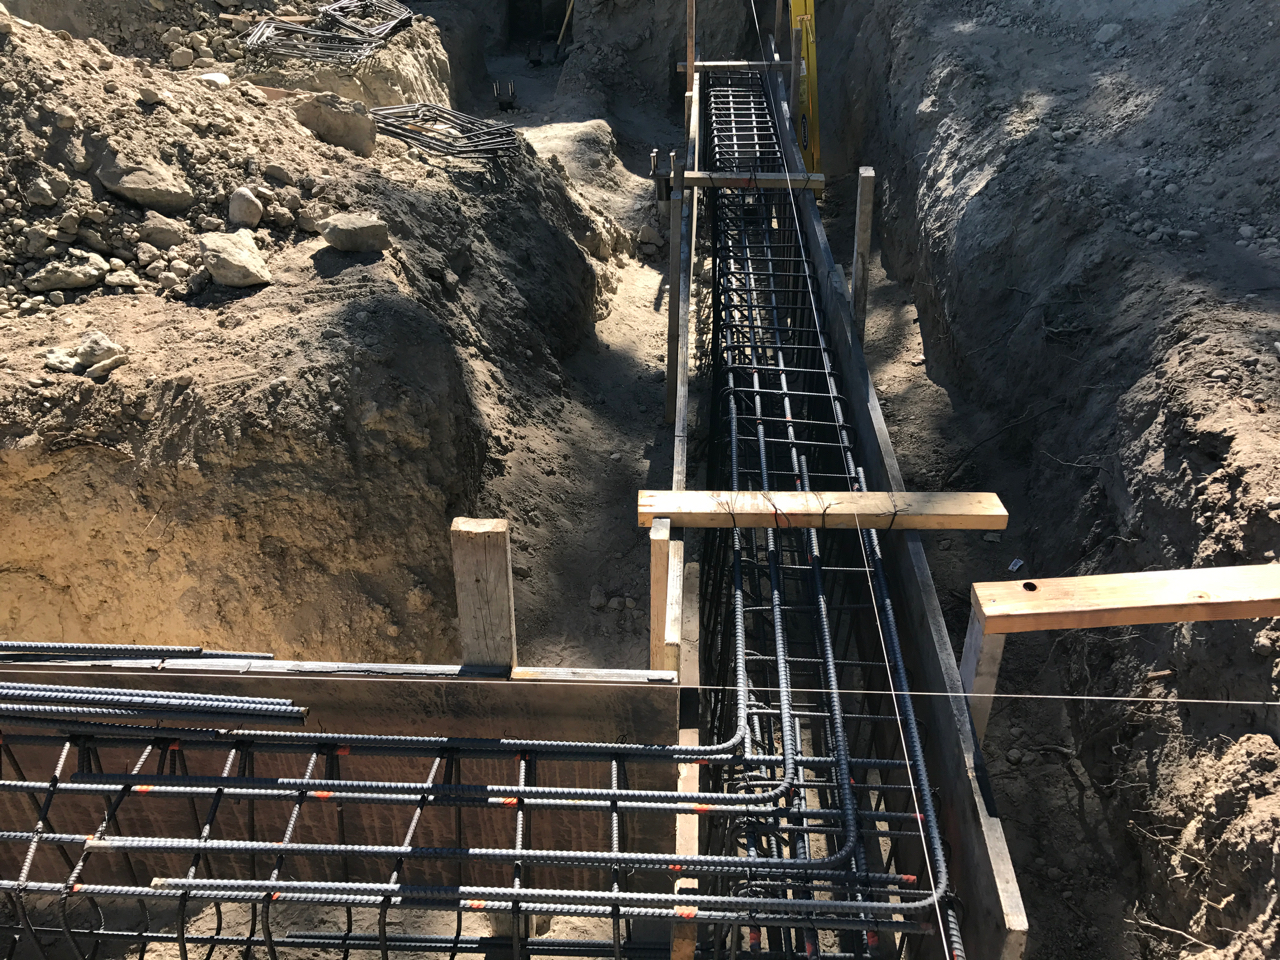
The image below shows the extent of the main exterior grade beam and the two footings on the inside of the basement. The footings have a wooden template with anchor bolts so the steel bases can be attached later. There is also a fair amount of steel sticking out of the footings so the grade beams that will be poured through/over them will be securely attached.
We got the concrete poured and I stripped the forms a few days later. It’s really fantastic to have the first pour done and I’m enthused to get going on the next.